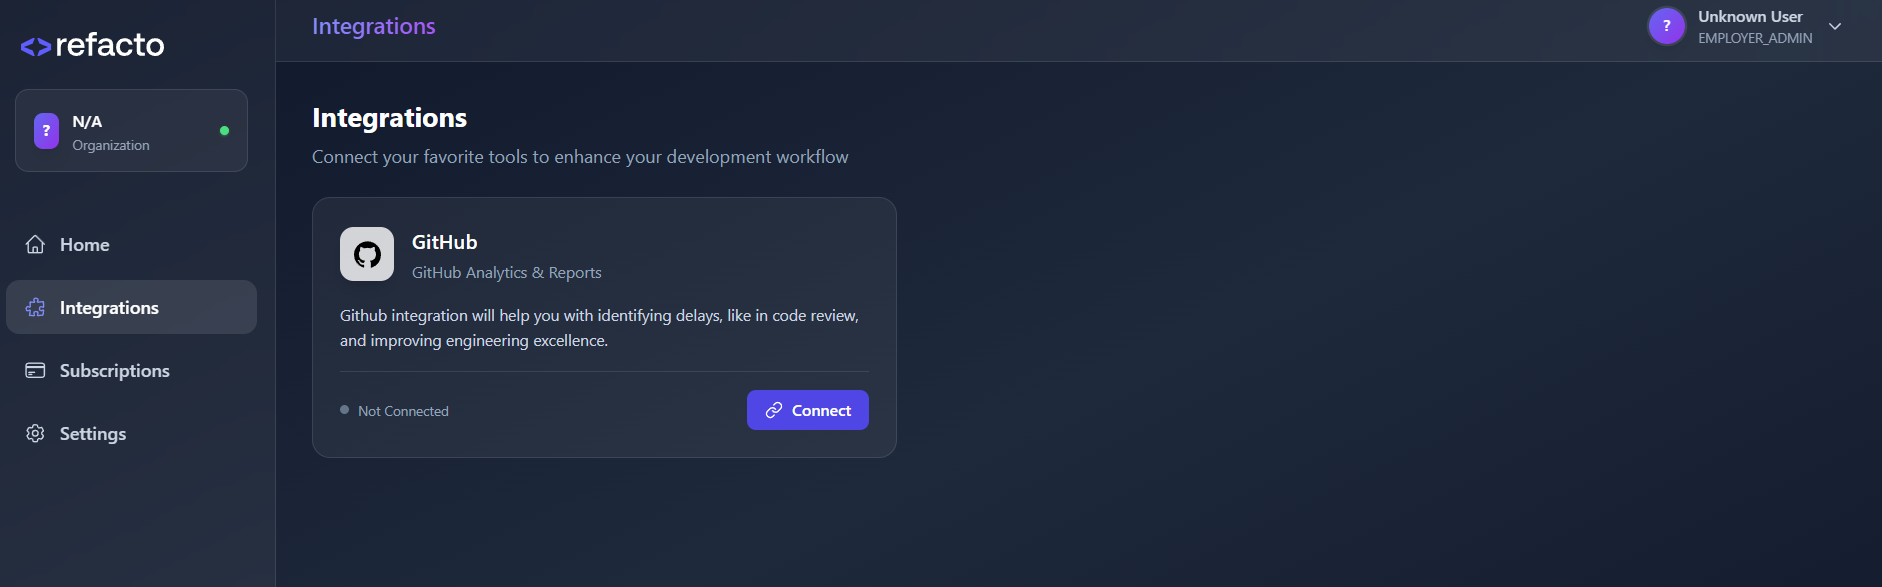
Open Integrations Page
Go to app.refacto.ai/integrations.
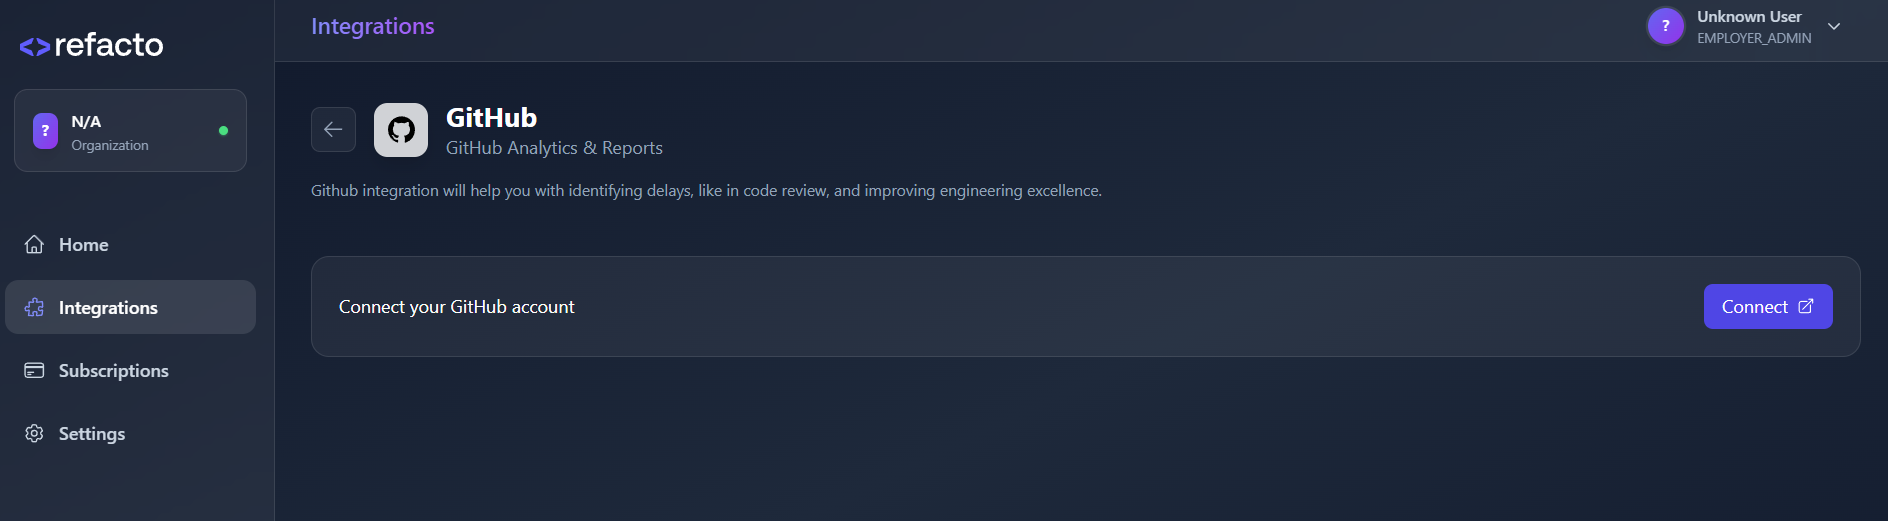
Here you’ll see all available integrations .
Here you’ll see all available integrations .
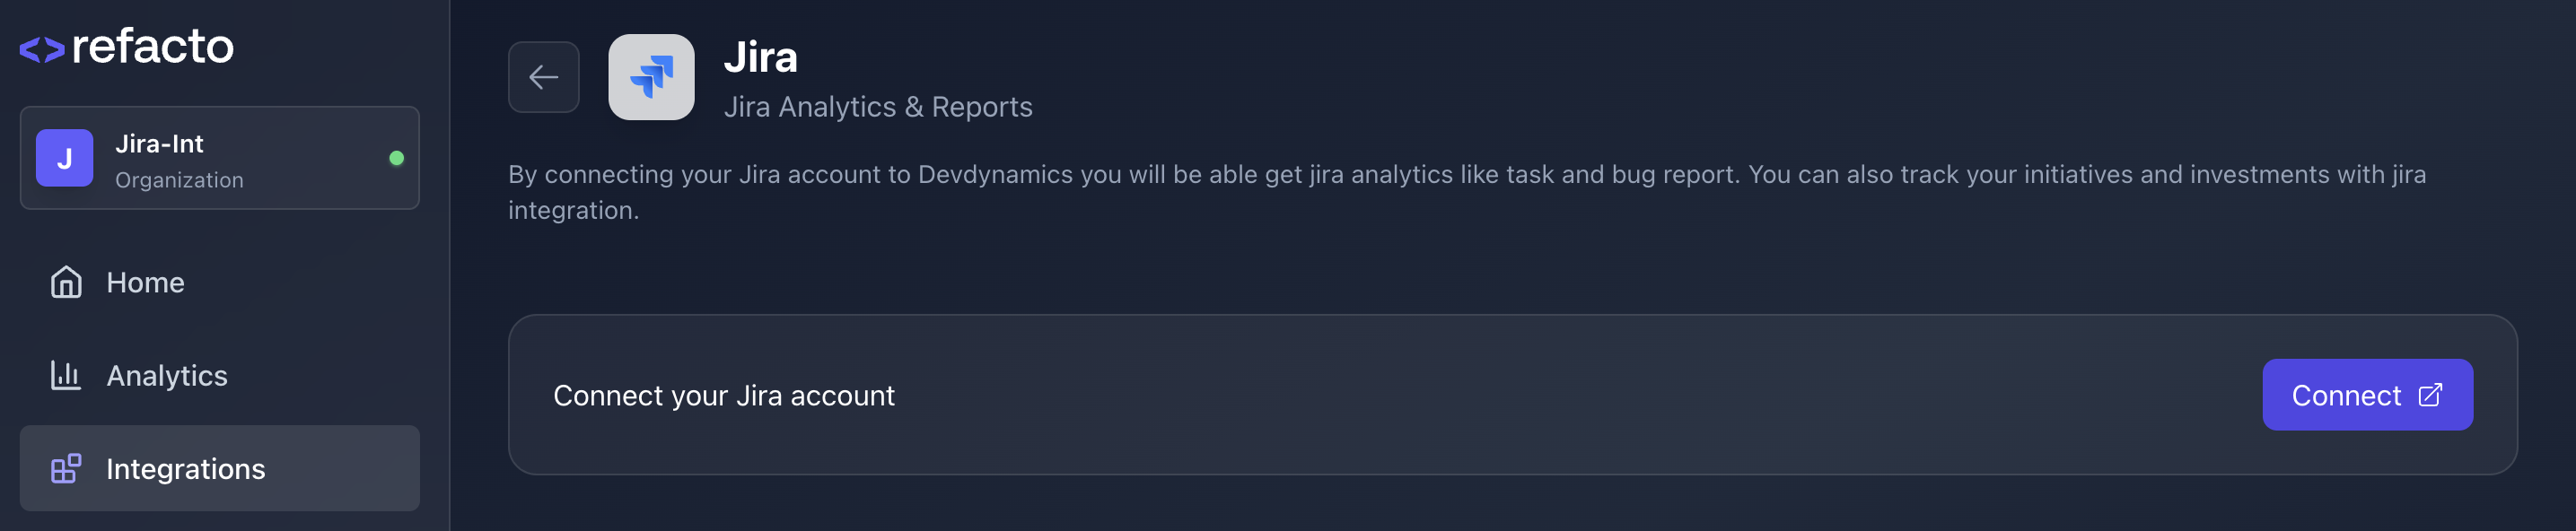
Connect Jira
Click on Connect button to start linking your Jira account
Authorize via Atlassian
After clicking Connect, you will be redirected to the Atlassian authorization page.
Refacto AI will request access to your Jira account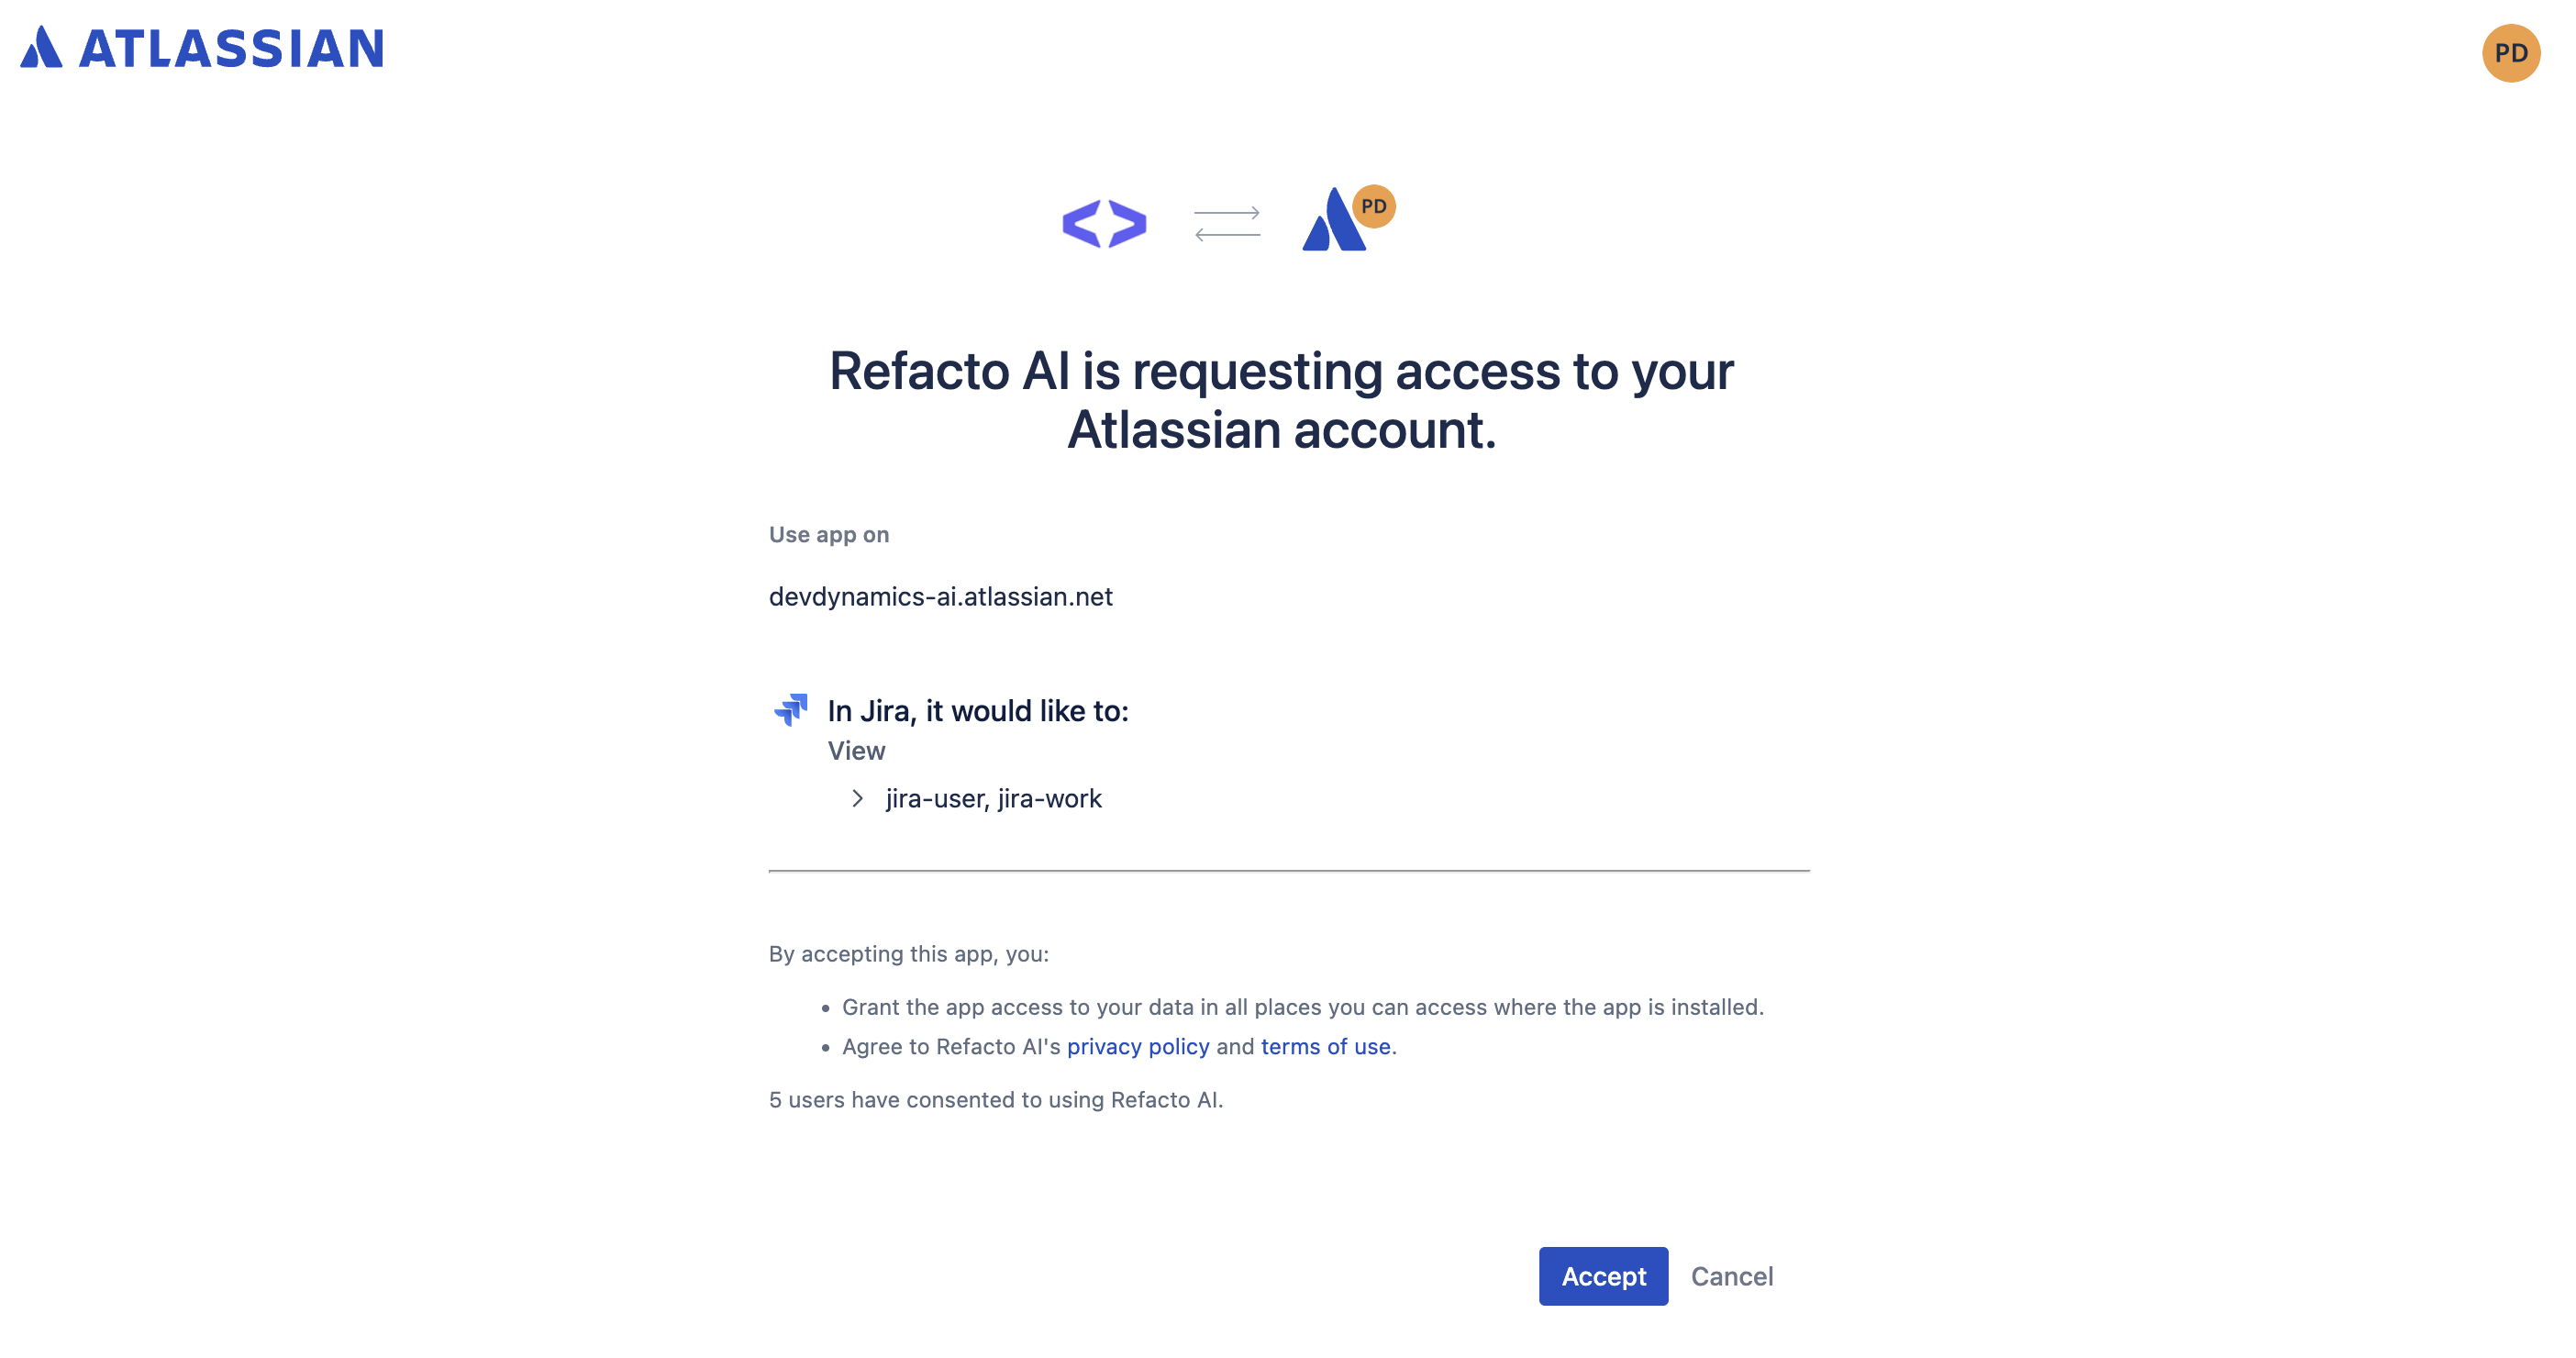
Refacto AI will request access to your Jira account
Successful Connection
Once you click Accept, your Jira account will be successfully connected to Refacto.You will see a confirmation message:
- Successfully Connected!
-
Your Jira account has been successfully connected to Refacto.
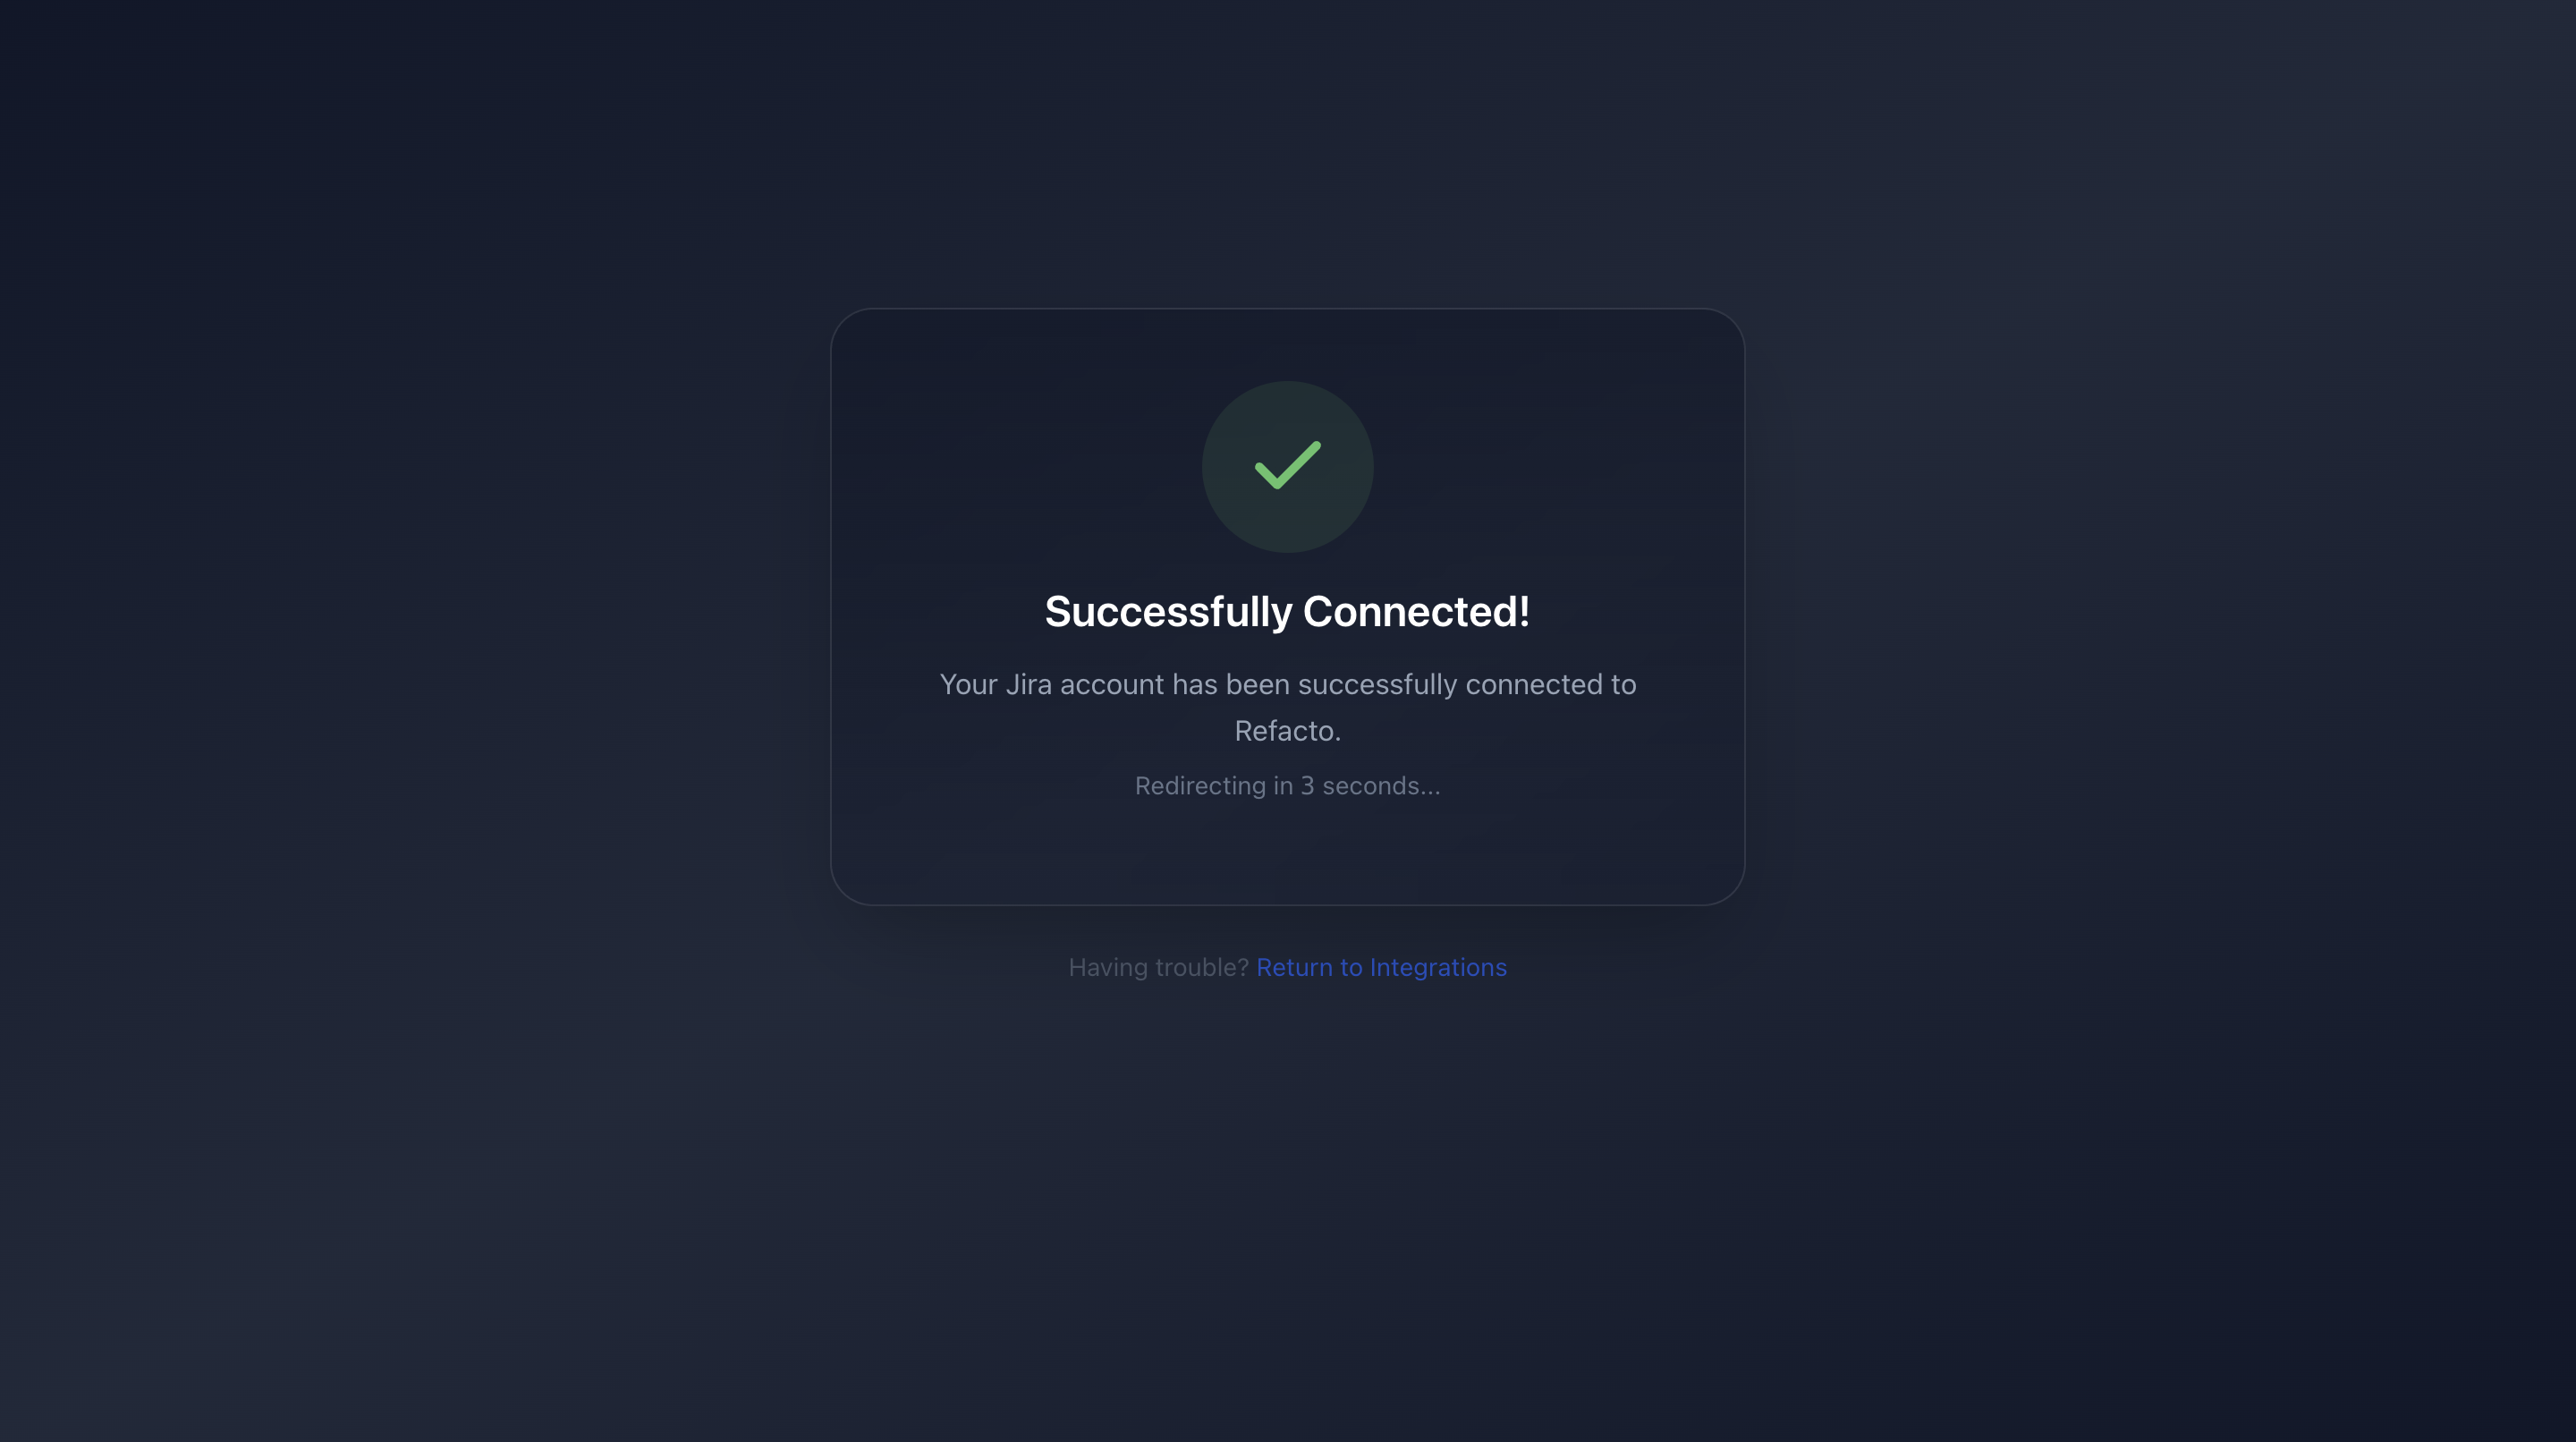
You will automatically be redirected back to the Refacto dashboard.
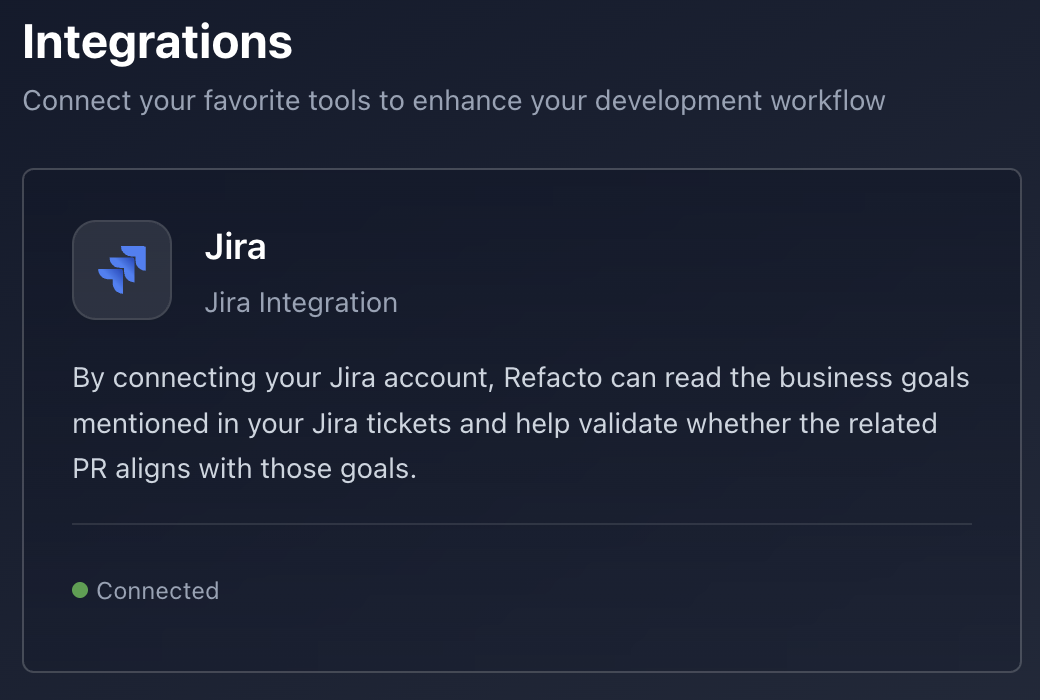
Verify Integration Status
After redirection:
- Go back to the Integrations page.
- You will now see Jira marked as Connected.
-
A connected indicator will appear beside Jira.
You're All Set!
Your Jira integration is now active.
Refacto can now fetch Jira data for analytics, reports, task tracking, and investment insights.
Refacto can now fetch Jira data for analytics, reports, task tracking, and investment insights.